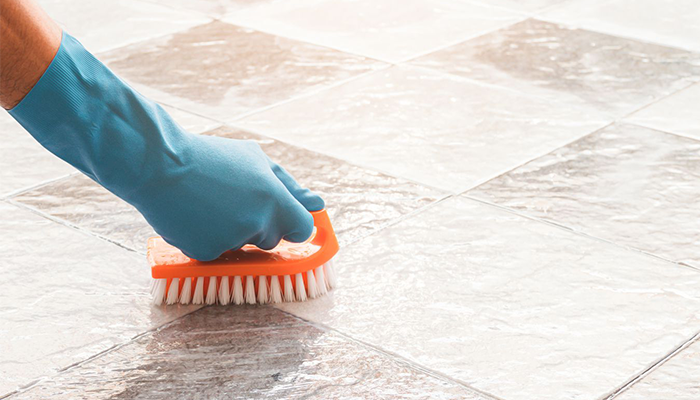
The Best Way To De-Stain Your Grout
TLDR: Keeping your grout clean requires a bit of know-how and some extra care. Whether you have gritty, concrete based grout or silicone grout there are several ways you can use household items and less abrasive washing techniques to de-stain your grout and make it look brand new.
Keeping your tile clean at home is usually a pretty simple process involving sweeping or vacuuming and mopping up dirt and stains. But what about that hard-to-reach grout? Even going over your grout multiple times with floor cleaner won’t remove stains and build-up or make the grout look like it used to. Dirt and oily build-up love to cling to grout so the real trick is removing it without damaging your floors. You might be surprised to find that there are several options for de-staining your grout but it’s important to consider what kind of grout you’re working with before choosing an option.
Different Types of Grout
Depending on where in your home you have tiled floors the type of grout between them will change. For example, in the bathroom, you most likely will have grout that is more resistant to water exposure. Let’s take a closer look at the different types of grout found in your home. Typically there will be one or more of these three types:
- Sanded Grout – A bit grittier and commonly used for high-traffic areas, this cement grout is used for filling larger sections between tiles like 1/8th to 1-inch fillings. Sanded grout will get taken apart by repeated scrubbing so avoid using methods that might tear it away!
- Unsanded Grout – While also a cement-based filling this kind of grout is used to fill more narrow spaces between tiles. More resistant to persistent friction this grout can actually stand up to most cleaning methods.
- Epoxy Grout – This type of grout is water resistant and therefore is found in bathrooms and spaces where there may be consistent exposure to water. Epoxy grout is the easiest to clean because it is not porous like its concrete counterparts.
The Non-Scrubbing Method For De-Staining Grout
Now that we know what types of grout we are working with let’s look at the best options for avoiding scrubbing away concrete-based grout. The key here is to avoid creating friction as the gritty concrete will get torn away with excessive friction and not allow excess liquids to sit on the grout.
First, you want to make sure that you pick a cleaning utensil that isn’t abrasive. Hard-bristled brushes, sandpapers, and metal wool will cause the grout to crack and become damaged. It’s best to use either a soft-padded sponge or a sturdy cloth.
Secondly, do your cleaning in phases so you can make sure to wipe up excess cleaner and liquids. Letting anything sit on concrete-based grout for too long will ruin it and make keeping it clean harder in the long run.
Lastly, it’s almost always better to use a homemade solution rather than store-bought chemicals. Unless you hire a professional to color stain or seal your grout, like Carpet Advisors, homemade cleaners are safe to work with and will not cause permanent damage to your tile and grout.
Safer Solutions For Grout De-Staining
For whitening grout or removing stains in general there are a few solutions you can make that are harmless, non-toxic, and cheap to mix. Here are a few of the best choices:
Tartar Sauce – No, not really. Some hacks you might see on the web say tartar sauce and lemon juice but what they actually should say is cream of tartar and lemon juice.
Protip: Cream of tartar is a common baking ingredient found in the baking aisle at most grocery stores.
Combine a teaspoon of this with a tablespoon of lemon juice and allow it to sit on tough stains for about a minute. Some gentle abrasion (with a sponge or soft cloth) should pull up the stain with no problem at all!
That old science experiment – you know the one, where you make the volcano erupt? Well, it just so happens that baking soda and vinegar are excellent tools for cleaning grout!
Start by shaking ⅓ cup of baking soda over the grout you want to de-stain. Then prepare a solution by mixing a teaspoon of liquid dish soap and ¼ cup of vinegar (any kind will do). Pour this mixture onto the baking soda and let sit for 5-10 minutes before wiping up with a towel or sponge. The combination of the three will foam up and break apart oils and dirt that cling to your grout.
Protip: You can substitute the vinegar with hydrogen peroxide for some extra cleaning power, but make sure you use a low-percentage peroxide and don’t let it hang out on your clothes, hair or skin!
By using these solutions you can see cleaner, stain-free grout after just a few applications! Some people may recommend using bleach for hard-to-clean stains but bleach can ruin clothes, and create fumes when combined with other cleaners that may be present on your floor and are not child and pet safe, so be cautious if you opt for that method!
Key Takeaways:
Cleaning tile and grout is not always as simple as putting down floor cleaner and scrubbing away, however applying some fundamental methods and using family-safe homemade cleaners you can see much better results.
- When cleaning concrete grout use less abrasive tools and avoid letting water pool or sit on your grout for long stretches of time.
- Avoid harsh chemicals like bleach and instead opt for cream of tartar and lemon juice or baking soda and vinegar.
- Let the solution sit before wiping away and never scrub too hard or you may pull your grout apart.
Table of Contents
Leave a Reply